How to Fix Blinking Led Light Error on Your System?
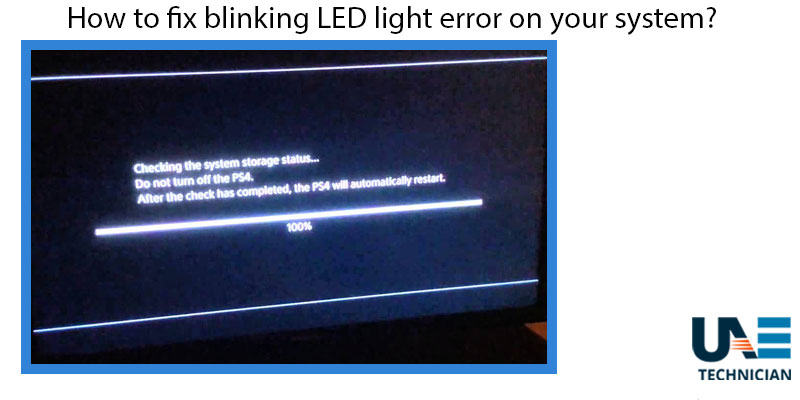
Fix blinking LED light error- Laptops and computers have now become a necessary gadget for our daily life. From professional to personal, we depend on them for even simple routine works. But it is possible that due to regular wear and tear of the system, you may face some issues. One of such problem is a blinking LED light error.
If your device experiences one or two short beeps when it starts, then it indicates that something has malfunctioned in it. This error can lead you to the following scenarios.
- The system indicates beeps and LED lights but can start.
- The gadget indicates the beeps and lights but fails to start up.
It might happen that the Windows will open and the gadget will show standard BIOS even after making sounds of beeps and flashing lights. It indicates that the issue is not critical and no significant effect will be on the laptop. But if the system fails to start then you can be sure that a serious hardware issue has cropped up.
The first thing which you need to do whenever you encounter such problem is to listen for beeps and look at the LED flashlights near the “Num Lock” key, “Caps Lock” key, battery, and AC adapter so that proper steps can be determined for troubleshooting. An LED or beep code means that a standard function is not able to start. It can include reading the memory, displaying videos, or unable to send information to the hard drive. Usually, this error is related to memory, heat issues and build-up of dust in cooling vents. Following is the process by which you can fix this problem on your own.
Method 1: Executing a hard reset or forced reset of the system
There can be two types of laptops in case of batteries. Few systems have a properly removable compartment, and some devices come with inseparable battery options. In both cases, hard reset process will be different which is as follows.
Removable Battery Devices
- Step 1: Turn off the system.
- Step 2: Disconnect the device from the port replicator or any docking station
- Step 3: Remove external peripherals such as USB storage devices, external displays, etc.
- Step 4: Unplug the AC adapter.
- Step 5: Remove the battery from the compartment.
- Step 6: Press and hold the Power button for 15 seconds to drain out electrical charge from the capacitors that protect the memory of a system.
- Step 7: Now insert the battery and plug the AC adapter but do not connect any of the peripheral.
- Step 8: Press the Power button to start the system.
- Step 9: Select “Start Windows Normally” and then press “Enter” key.
- Step 10: Connect the peripheral devices and run Windows Update for all drivers.
Non Removable battery Devices
- Step 1: First you have to turn off the computer.
- Step 2: Remove your device from any port replicator or docking station.
- Step 3: Disconnect all peripheral devices.
- Step 4: Unplug the AC adapter from the device.
- Step 5: Press and hold the Power button for 15 seconds
- Step 6: The system will restart on its own after this by fixing issues with the battery.
- Step 7: Download the drivers and updates for the system.
Method 2: Remove dust from the air ventilators
Due to regular exposure, dust can collect in the cooling vents of a system. It can block the airflow which can cause overheating issues in sensitive components. Sometimes it can lead to a total collapse of the part. Before performing troubleshooting process, it is necessary to remove dust that might have accumulated. You can use canned air to blow out the vents. After cleaning, restart your computer. If the system starts up normally, then the issues are resolved.
If the problem persists, then you can take technical advice from an expert for proceeding further. Following are some of the steps which can help you in writing down the code of error.
- Step 1: Turn on the system by pressing the power button
- Step 2: Look for the light which is next to the power socket and note its condition: blinking, off, or on.
- Step 3: Now have a look at the indicator lights near the “Caps Lock” and “Num Lock” keys. Note their status of blinking (How many times it is blinking)
This pattern will help the technician in diagnosing the problem due to which this error has come up.
Related Articles