How to Scan with Windows 10, Dial 045864031 in Dubai, UAE
You received a great multi function printer as a gift and now you are thinking of using it to digitize all the documents you have accumulated over time (in order to make them “survive” to wear, removals or other unforeseen household items that might happen). Absolutely convinced of your intentions, you’re wondering how to scan with Windows 10 , the operating system you have just installed on your PC, because, in fact, you’ve never done before.
No fear! This is the guide where you can find answers to all your doubts! Below, in fact, I will explain in detail how to digitize documents, photos and anything else you want using the tools built into Windows 10 and some free programs that you can find for free on the Internet. Before entering into the heart of the matter, then, I will provide you with “tips” for installing the necessary drivers for using your printer and / or your scanner, if you need it.
How do you say? Do you consider yourself a technological idiot and are you afraid of not being able to do it anyway? Do not worry: by following my advice and instructions you will be able to turn flying cards into documents that will last over time and will be available whenever you want. So be comfortable, take a little ‘time for yourself and continue reading this guide: I guarantee that at the end of the reading you will be able to scan documents to perfection. That said, I can only wish you good reading and good work!
Preliminary operations
As I have already mentioned, to scan with Windows 10 you must first install the appropriate drivers for your multi function printer or your scanner. Typically, what you need to do is to insert the USB diskette or USB support provided with the device into your computer, follow the instructions that are provided on the screen and turn on and connect the printer or scanner when prompted.
If you have not found any support in the sales package of your printer (or your scanner), you can download the drivers for Windows by typing in the Google search bar the name of your printer / scanner followed by the word driver . I recommend you always download drivers from secure websites or, even better, directly from the manufacturer’s Web pages.
Generally, once the download is complete, you must start the downloaded file with a double click and press the Accept and Forward buttons until the end of the procedure, and then turn on and connect the printer (with the USB cable, Ethernet or wirelessly ) when required. If you do not feel ready to face alone this, you should look at my guides dedicated to downloading and installing the drivers of the most famous manufacturers, such as Canon driver , the Samsung driver , the HP driver and Epson driver . In particular, if it is a multifunction printer, I urge you to consult my tutorials on how to connect a printer and how to set up a WiFi printer .
Remember that once you have completed the installation of the drivers and software that owns your printer or scanner, you can modify the settings and configuration of the device by calling them from the desktop or the appropriate folder located in the Start menu . However, before proceeding with any modification, I advise you to read the manual or guide for your specific scanner / printer model.
Windows fax and scanner
Now that you’ve finally installed and configured your scanner or printer, it’s time to get to work and start scanning your documents with Windows 10. The first program I want to suggest is Windows Fax and Scanner , an instrument already present in the operating system, through which you can scan digital documents with absolute ease.
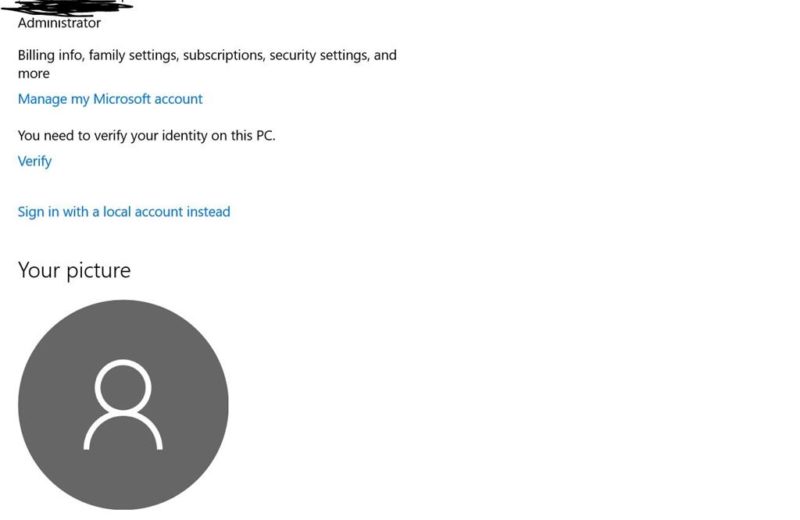
First, open the Start menu by clicking on the flag button in the lower left, click on the Accessories folder and then on the Windows Fax and Scan program . In the window that opens, presses the button New digitization located at the top left, make sure that in the Scanner section is the device you want to use (if not, press the Change … button , click on the icon for your scanner / printer and then presses OK ) and sets the various boxes as follows.
- Profile – here you can find predefined profiles created based on the type of document to be scanned. If you do not know what it is, leave everything as it is.
- Power – here you can choose the main tray to scan from. Leave this item intact.
- Color format – from here you can decide whether to import your document in color, black and white or grayscale.
- File type – here you can decide the type of file in which your document will be transformed, to be chosen among JPG, BMP, TIF and PNG .
- Resolution (DPI) – from here you can choose the resolution of your document. Generally, the higher the resolution, the better the definition, the larger the document in terms of disk space.
- Brightness and Contrast – you can customize the relative attributes of the image by acting on these switches. Leave intact if you do not know how to proceed.
At this point, click on the Preview button and wait for the scanner to perform the acquisition: at the end of the process, the result is shown in the side pane. If you are satisfied, press calmly on the Digitize button and wait for the scan to complete.
By default, the scanned document is saved in the \ My Documents \ Scanned Documents folder . You can still rename the file or move it to another folder directly from the main program screen: right-click on the entry for the scanned document and select the items Rename … or Move to folder … from the context menu that appears. If you want to move multiple files at the same time, you can make a multiple selection by using the Ctrl key on your keyboard. Very simple, right?
Windows Scanner
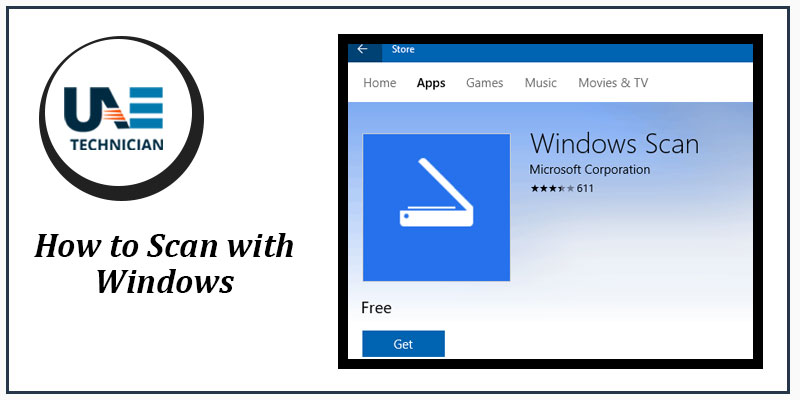
Another good program to scan documents from Windows 10 is Windows Scanner , which can be downloaded for free from the Microsoft Store. So, first, start the Store by clicking on its icon in the system tray (the shopping bag with the Windows logo) or by calling it from the Start menu.
Then type “Windows Scanner” in the search bar located at the top and then press on the magnifying glass or the Enter key on the keyboard. Scroll through the search results until you find the App section, click on the icon for the program (a scanner drawn on a blue background) and then on the Install button. Once the setup is complete, presses the Start button that appears in the Store window or in the notification generated by Windows. In the future, you can call up the program by clicking on the Scanner icon in the Start menu.
Using Windows Scanner is a disarming simplicity: make sure that the name of your device is present in the Scanner pane (if not, click on the box and select the device from the drop-down menu that appears), leave the Source pane unchanged , select File Type box the type of image in which you want to save the document ( JPEG, PNG, TIFF or Bitmap ), click on the item Show details, then on the item Scans and select the folder in which you want to save your scanned files.
Complete the settings, click on the Digitize button located at the bottom: after the procedure, you can directly open the scanned document by clicking on the View button, or proceed with a new digitization by clicking on the Close button. Did you see? It was really a breeze!
NAPS2
The programs for Windows 10 that I have illustrated so far are mainly suitable for image acquisition: if they have not been able to satisfy you or if you need something more “specific”, perhaps oriented to document management, I highly recommend you try the NAPS2 program : it is a completely free software, through which you can scan with Windows 10 (and other versions of Windows) both photos and documents, saving them in different formats, including PDF . A very interesting feature of NAPS2 is the support to technology OCR ( Optical Character Recognition, or Optical Character Recognition) which, in a nutshell, allows the software to recognize the characters included in the scanned document, and possibly generate PDFs with text that can be selected or modified.
To proceed with the installation of NAPS2, connected to the Internet site of the program, click on the DOWNLOAD NAPS2 button, then start the file you just downloaded to start the setup. In sequence, click on the Yes and Next buttons, set the check mark on the I accept the agreement box and press the Next button three times, check the Create a desktop icon checkbox to add the program icon to the desktop and Finally, click on the Next, Install and Finish buttons.
Now, start the program with the icon just created and, to add the Italian language to the recognition of the characters, click on the OCR button located in the top bar of the program, check the boxes
Once back to the NAPS2 main screen, click on the Scan button located at the top left, first presses the button Choose device, select your scanner from the list of available devices, press the OK button, then choose from the drop-down menus the settings best suited to you, in order to create a basic scanning profile (it is mandatory to do it only the first time). Generally, the most used settings are as follows.
- Paper feed – plan.
- Page size – A4 (210x297mm).
- Resolution – 300 dpi, always remembering that, as I have already mentioned, the higher the resolution, the better the definition of the document, the bigger the resulting file will be.
- Bit depth – 24-bit color.
- Horizontal alignment – Left.
- Scale – 1: 1
- Brightness and Contrast: leave the value 0.
- Enable automatic saving – check this box to save the files automatically after each digitization, then set the saving settings in the next box and click on the OK button.
Once the initial setup is complete, click the OK button and wait for the document to be scanned. Once the digitization is complete, select the thumbnail of the scanned file and click on the Save PDF button located in the upper bar, to save it as a PDF document, or Save Image , to save it as an image: in the latter case, you can decide the file format you prefer selecting it from the Save pop-up menu as it is proposed later. If you want, you can make changes “on the fly” on the document (cut it, increase / decrease brightness, contrast and saturation, turn it into black and white) by selecting the thumbnail of the digitization and clicking on the Image button , or you can rotate it (even with angle customized) by clicking on the Rotate button . If you want, you can edit multiple objects at once (save them in sequence, save them all on one file, rotate them all, etc.) by making a multiple selection on the main program screen (you can help with the Ctrl key on the keyboard).
Other programs to scan with Windows 10
If you have come to read this far, it means that you have finally done the techniques I have shown you to scan with Windows 10 in a simple and fast way. You must know, however, that they are not the only ones: on the producers’ sites and on the Microsoft Store , you can also find proprietary programs, that is dedicated exclusively to scanners of specific manufacturers, as designed and published by the producers themselves.
Related Articles