How to Fix Hard Disk Read Error of Your Laptop or Desktop?
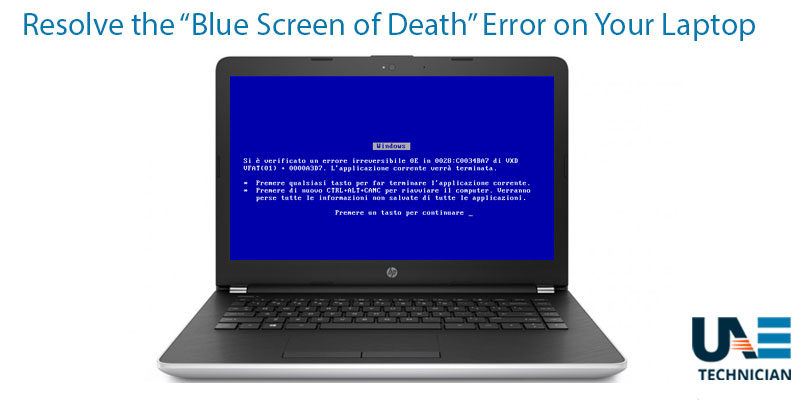
With the help of a built-in test tool, Windows offers you a system where it can generate warnings regarding errors related to hard disk or partitions. Disk read error is one of the issues which is very common. Usually, when your laptop or computer boots up, this error can occur. It does not allow the device to access its operating systems. When you encounter such problem, a black message box appears with the following information.
 “A disk read error occurred. Press Ctrl+Alt+Del to restart”
If you have got this message up on your laptop or PC screen, then it indicates that you are facing problems with the hard drive or it might happen that the hard disk is not able to read operating system. The computer will suggest that you can restart your device by pressing “Ctrl+Alt+Del” keys and can fix the problem. But even by trying this approach for several times, your system will not start and will repeatedly show you the same message.
There can be numerous reasons due to which you can encounter a hard disk error. Following is the list of such issues which can lead you to a faulty device.
- Incorrect boot order
- BIOS modification issue
- IDE cables failure
- Wrong MBR configuration
- Faulty hard drive
But with the help of some solutions, you can fix this laptop problem on your own. Following is the detailed information of solutions which you can apply on your system to get it back to normal working condition.
- Method 1: Boot your operating system from hard drive
The first thing which you need to check after encountering a hard disk read error is that whether you have a correct BIOS
boot settings or not. Here the order of priority for devices plays a vital role. Our goal is to place hard drive on the first boot priority so that the process can flow in the right direction. After changing these setting, it is possible that when you restart your system, it might boot up normally. In case your device fails to resolve the problem then you can proceed further with next solution.
- Method 2: Upgrade or Reset the BIOS
Sometimes setting the BIOS to its default settings can also help you in resolving this issue. Following is the list of steps which can lead you to the same.
Step 1: Press a specific key which can be F2, F8, F12, Esc or Del key to enter into BIOS of your system
Step 2: Find and select the option to reset the settings to default.
- Method 3: Repair the boot sector and master boot record
If the master boot record or boot sector is corrupt, then it will give rise to disk error. Only by rebuilding or fixing the master boot record you can resolve this issue. With the help of USB boot option, you can repair boot sector which is damaged. Several types of software are available which can guide you through this process.
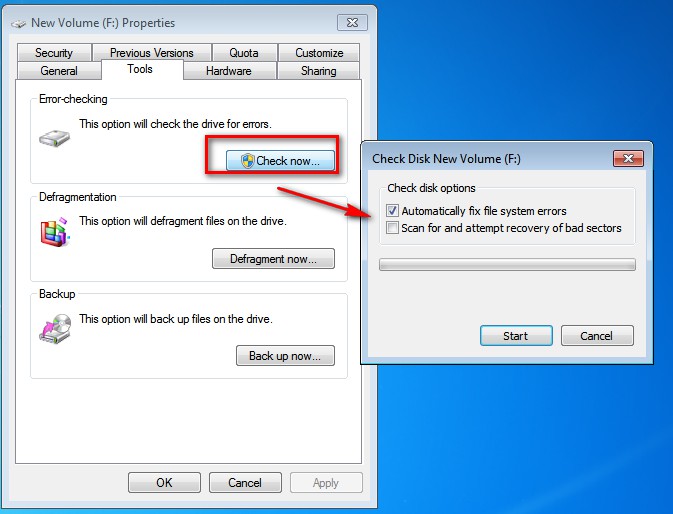
- Method 4: Test the Hard Drive of system
A bad sector of the hard drive can also be the reason behind this error. If there are some blocks which are corrupt, then it will cause create problems frequently. Here you have to check the disk surface to make sure whether bad sectors are present or not. Before you apply this solution, it is required that you burn the .iso file to a USB flash drive or CD/DVD and then restart the computer from this device to perform the test. To is mandatory that you create a back up before initiating the process so that no data loss situation creeps up.
- Method 5: Check the hard disk IDE cable
Defective and loose IDE cables can also cause this error to occur. So for ruling out this possibility, you can open the computer’s hood and check whether the IDE cable is suitably fitted and changed if it’s faulty.
- Method 6: Test the RAM
Sometimes, read disk error is related to the RAM stick or RAM slot. It is necessary to conduct a non-destructive test on your computer’s RAM so that a better understanding of the issue can be drawn. You can use several tools like Memtest86+ which can help you in applying this test on your device. If the software finds some errors, then you can try to insert the current RAM sticks into different RAM slots so that it can be made out that the problem is related to memory slot or stick.
Before applying any of the solutions mentioned above, it is necessary that you create a back for your files.
Related Articles