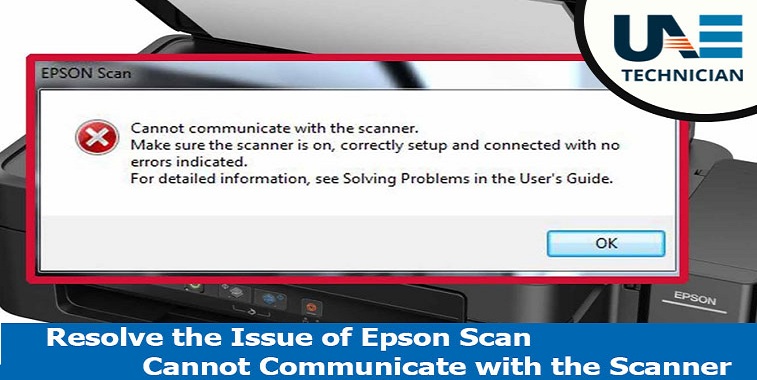
How to Resolve the Issue of Epson Scan Cannot Communicate with the Scanner?
Epson is one of the popular brands in the scanning gadgets industry and choice of millions. The scanner devices produced by the Epson are of extremely high quality, but sometimes due to regular and rough use, it may encounter issues. One such problem that many Epson users witnessed is the scanner fails to scan the documents. There can be many reasons behind this ranging from the drivers of the scanner to wrong configuration of the network. With the help of this post, you will get to know about the different methods that can help you in scanner repairing.
Many times customers have different sort of queries as Epson scan cannot communicate with the scanner windows 7, Epson nx420 scan cannot communicate with the scanner or Epson scan cannot communicate with the scanner windows xp but the solution to every question is only one and you will achieve that solution with the help of this blog.
Method1: Run a software scanner with administrative privileges
Running a scanning software with the administrative privileges can help you in fixing this issue. Doing so will help the scanner in performing the functions without any interruption and security checks. For this, you need to change the settings of application and allow administrative access. To do so for repairing the scanner follow the below steps:
- Make a right-click on the Epson Scan and then choose the option of “Properties”.
- Choose “Compatibility” tab under the option of “Properties” and check ‘Run this program as an administrator’. If in case the administrator privileges don’t solve the problem you can later run the application in compatibility mode.
- To save the changes click on “Apply” and then exit. Now switch off the Epson scanner and detach the USB cable. Now, wait for few minutes and set up the scanner again and check if the problem is resolved.
Method2: Fix the wireless connectivity
Sometimes the error causes because the scanning application of Epson fails to connect the scanner to the network LAN that is address automatically. To eliminate this problem, you can manually update the address by fetching it from the command prompt. To get your scanner repaired via this method, you need to perform the following things:
- Launch the settings of Epson Scan and click on the option of “Add underneath Network Scanner Address.” Ensure that you are choosing the right scanner by making use of the option at the top of the window.
- Now, navigate to the command prompt and fetch the correct address from their and type it in the “Enter address”
- Click on the icon of Windows and type “cmd” in the dialogue box and open the application.
- Type “ipconfig” in the command prompt and hit the Enter button. Also from the command prompt, copy the field “Default Gateway.”
- Paste the copied default gateway into your browser and obtain your router. Now, log into your router, see the list of connected devices to the network.
- Head back to the scanner application, insert the address of the scanner and then click on Apply. By doing so your scanner will successfully be added, and you will be capable of getting the work done without any problem.
Method 3: Restart the Shell Hardware Detection
The work of Shell Hardware Detection service is to do surveillance and gives notifications for autoplay events of the hardware. This service is considered useful for identifying the scanners, printers or any other removable storage devices. If there is an issue with this service, there is every possibility that your device will not detect the scanner. In this case, you can restart this service and reconnect the Epson scanner. To do so, you need to follow the steps mentioned below:
- You need to press the Windows and “R” key and type “services.msc” in the appeared dialogue box, click enter.
- Now, search for the “Shell Hardware Detection”. Make a right-click on it and choose the “Properties” option.
- You need to ensure that the startup type is established to “Automatic”. Once you make sure, this close the window and make a right-click on the option of “Service” once again and choose the “Restart” option.
- Now moving towards the next step, disconnect your Epson scanner from the computer and plug-in back after a couple of seconds to check whether the problem persists.
Method4: Turn off the password that protects sharing
A password that protects your sharing sometimes also generates such problem. Passwords protection doesn’t allow all the users to connect to your network and access the data on your system until they provide the matching password. By disabling this, you can eliminate the error and can repair your scanner. To do so follow the below steps:
- Tap the Windows and “S”, a dialogue box will appear on the screen type “advanced sharing” in this.
- Select the option of “Private” and check the option, you need to turn on the “File and Printer Sharing”.
- In the next step, you need to press “All Networks” and disable password protected sharing.
- Click on “Save Changes” present at the bottom of your screen.
- Disconnect your scanner from the computer and plug in it back after a couple of minutes.
This is all you need to fix the error, if in case you are unable to get to do it then contact us. Our team of qualified and skilled experts will fix the problem and will repair your scanner in Dubai within minutes at affordable rates.