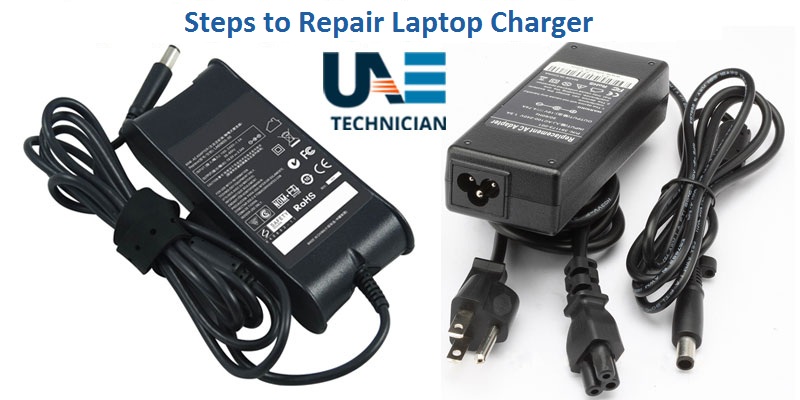
Do you want to repair Laptop Charger or replacement?, Dial 045864031
Wires can very easily get corrupted not because of strenuous but just through everyday rough use. A broken connection is most irritating and crippling at worst. You won’t be capable of using the laptop if the charger is not charging the battery. There are many causes of charger failure. To get the Laptop Adapter Repair Service connects to our qualified technicians or follows the blog steps to Repair your laptop charger. Sometimes it also happens that the battery of laptop dies and error is shown that battery is not getting charged up.
After you have seen that the charger is correctly plugged in and the laptop goes dead at that point of time the very first thing you need to do is to have a look at LED if it is glowing or not.
Check if the cable is broken if not so then you need to check the cord. If your Power Indicator LED is glowing, or somehow the power outlet exists in chord laptop charger needs repair. Only a little effort is demanded if it is more than just a voltage regulator IC failure.
Follow the below-mentioned Steps to Repair Laptop charger:
- Step 1: Check the connection between the charger and the laptop if you found it lose then you need to be repaired it by an electrical tape to hold it on the place so that the charger can receive the power that is a temporary fix however a faulty connection can create sparks and cause damage.
- Step 2: Turn off the laptop upside down, locate the lock to get off the battery. If you are facing problem in getting it out, give a tug to it use a small amount of alcohol on the tip of connection swab and use it to clean the battery connectors. Remove the dirt as it can build up and interfere with connection giving the appearance of a broken charger. Reassemble it back after drying the alcohol.
- Step 3: Gave it try by laptop power on with charger and battery is removed. Now insert back the battery sliding the latch and securely plug in power cord to retest it.
- Step 4: If the charger is still not working then you need to get it repair done under the assistance of experienced and qualified technicians who will help you in fixing the broken adapter or cable reconnecting if it is de-attached
- Step 5: After the repair is done check the charger by plugging the cable into the electric socket and another end in the laptop power slot.
Follow these easy step and get your Laptop charger issue will be fixed out.
Related Articles
